

Autofit Cells In Excel
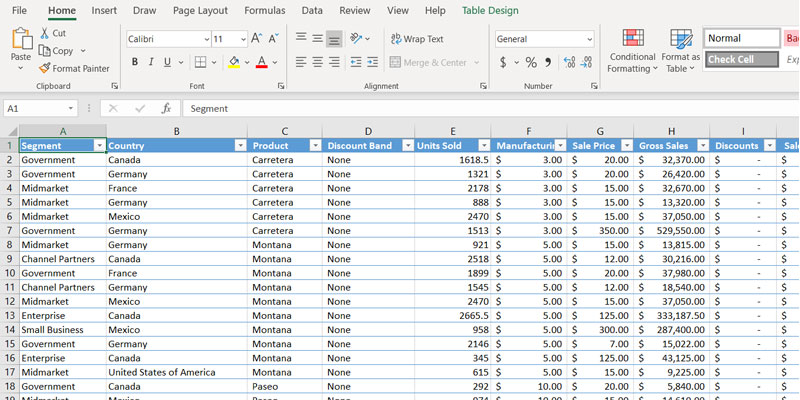
Opening up an Excel document containing data of various column widths and row heights can be a daunting nightmare no one wants to look at. Consequently, if you are the perfectionist type at heart, may life have mercy on your mental soul if you cross paths with such a file.
Not to worry though, as there is a beautiful feature in Excel that can auto-adjust the cell widths and heights all in a matter of seconds.
Table of Contents
How To Begin
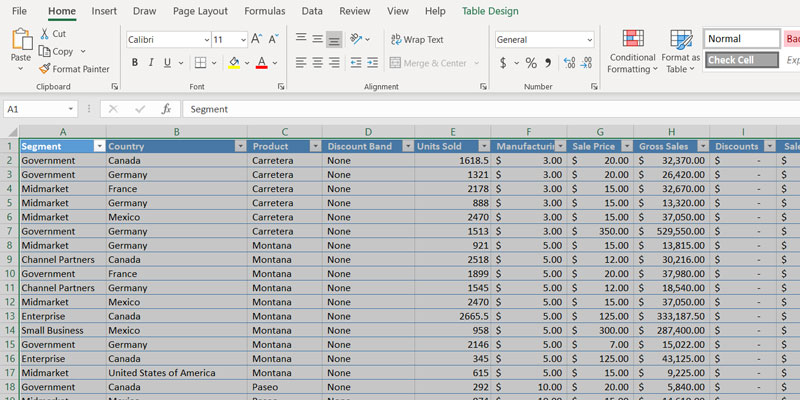
Open up the chaotic Excel file that you are going to follow along with this tutorial.
If you do not have one, that is no problem. Click on this link to directly download a Financial Sample spreadsheet from Microsoft or visit their website.
Autofit – The Long Way
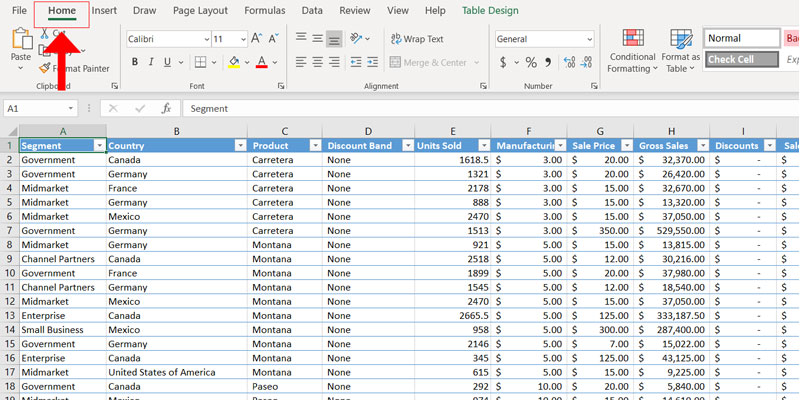
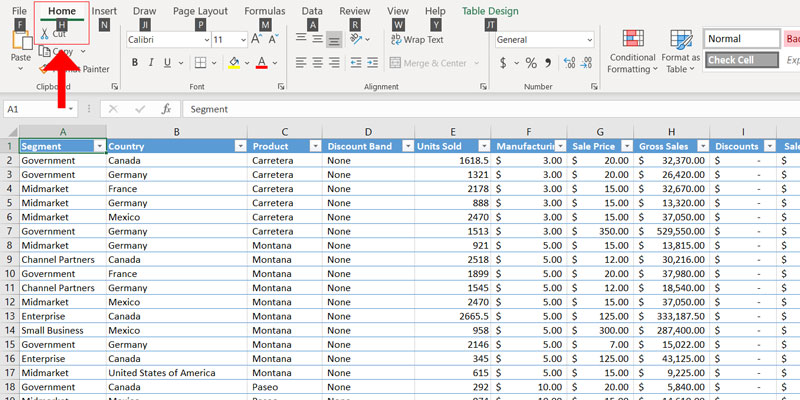
Verify that you are on the Home tab.
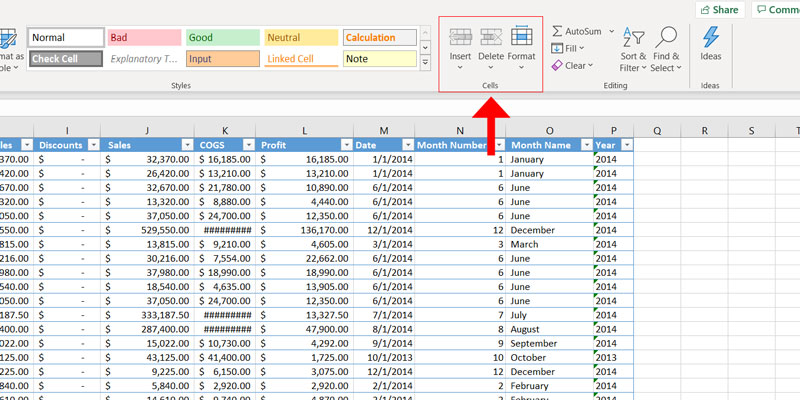
Gravitate your eyes towards the Cells section.
Select all the rows within the spreadsheet.
If there is not a lot of data to select, you can use your mouse to click, drag, and highlight all the cells manually.
Or if want to be more efficient (regardless of the amount of data you have), you can simply use the keyboard shortcut CTRL+A (Windows) or CMD+A (Mac).

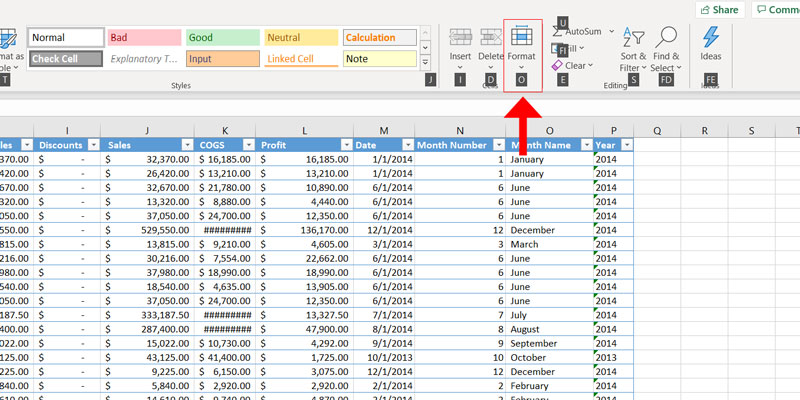
With the information selected within the file, complete the following steps to fine-tune the column widths and row heights:
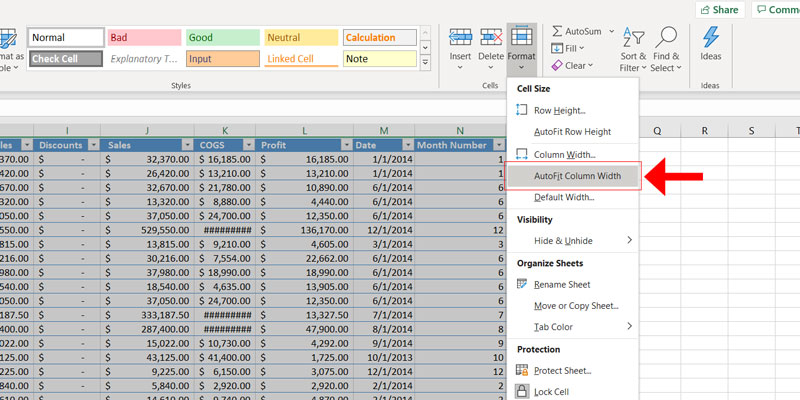
- Click on the Format dropdown within the Cells section.
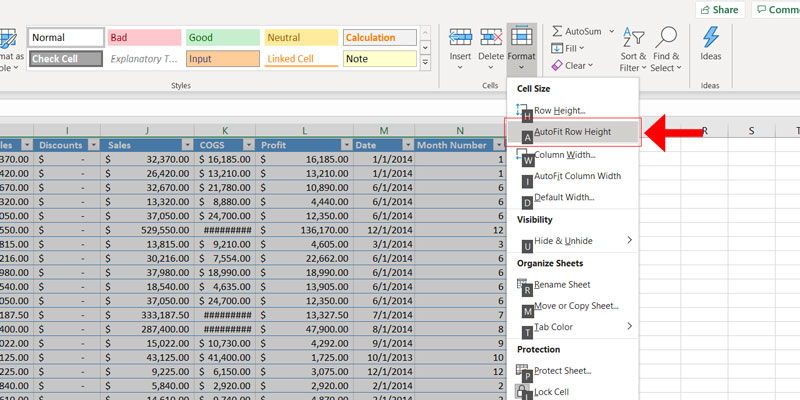
- Select the AutoFit Row Height option to have Excel adjust the row height.
- Click within the Format dropdown again, but instead this time select the AutoFit Column Width option to have Excel adjust the column width.


Your spreadsheet should now be adjusted to where each of the columns are at the width of the largest cell in that column and each row is at the height of the largest cell within said row.
Remember to save the document in order to commit the changes you just made!
Autofit – The Short Way
Select all the rows within the spreadsheet.
If there is not a lot of data to select, you can use your mouse to click, drag, and highlight all the cells manually.
Or if want to be more efficient (regardless of the amount of data you have), you can simply use the keyboard shortcut CTRL+A (Windows) or CMD+A (Mac).
To autofit the row heights, use the keyboard sequence ALT+H+O+A.

To autofit the column widths, use the keyboard sequence ALT+H+O+I.


Your spreadsheet should now be adjusted to where each of the columns are at the width of the largest cell in that column and each row is at the height of the largest cell within said row.
Remember to save the document in order to commit the changes you just made!
And That’s It, You’re Done!
Phew, you did it. Not only did you show that Excel file who is in charge, but your eyes and stress levels thank you.
I hope you were able to learn something new! If you would like to know more about a certain web-development topic and want me to do a tutorial about it, shoot me a message and let’s make it happen.