

Saving Time With Keyboard Shortcuts
As a developer, one of the tools that I heavily use in my work and enjoy is Sublime Text.
Sublime Text is “A sophisticated text editor for code, markup and prose”. Sublime takes your experience with the basic text editor that comes bundled with your computer–such as Notepad (Windows) or Pages (Mac)–and gives it a major upgrade.
You can use Sublime to code in various syntaxes (such as HTML, PHP, SCSS, C++), open multiple tabs like modern web browsers, and view multiple folders in a project!
If there is one thing in the technological world I enjoy more than a program running with no bugs, it is keyboard shortcuts. Any piece of software that incorporates shortcuts into its platform wins my heart automatically.
Which is why this tutorial is about Sublime and my favorite keyboard shortcuts that I use on a daily basis.
One side note: I shall be using Windows shortcut (Mac shortcut) throughout the tutorial to indicate the shortcut keys used between the different operating systems.
Using Keyboard Shortcuts in Sublime
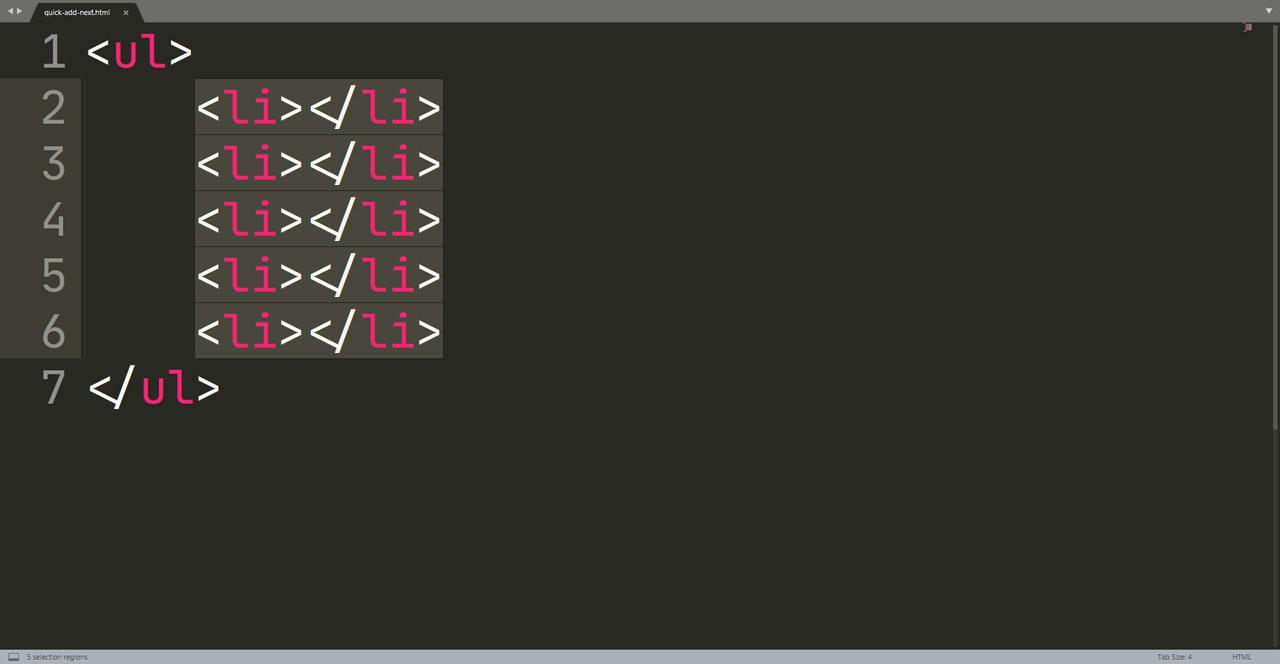
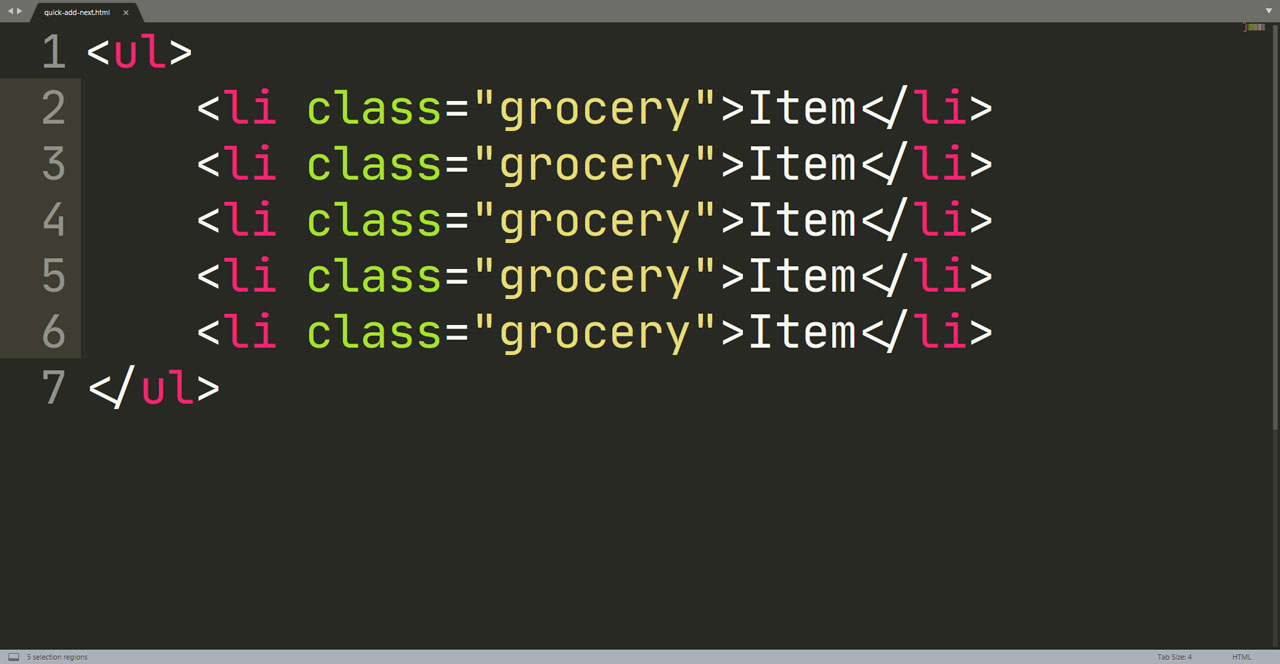
Quick Add Next
This is my all-time favorite method to use because this selects the duplicate instances of a word or phrase within your file and lets you edit them simultaneously. Bart Simpson would be jealous.
This method comes in handy when bulk editing is the ulterior choice as editing each item feels like an eternity.
Highlight a word or phrase, hold down the Ctrl (Cmd) key followed by pressing the D key. The next occurrence gets highlighted for you. Do this repeatedly until you are content with the amount of selected items that you need to edit.

Use this approach when you want to update a few duplicate items within a document instead of trying to find all the instances of a particular word within a document. You are better off using the find and replace option for that.
Goto Line…
The most cumbersome situation when dealing with lengthy pieces of information is scrolling up and down between intervals of code to rework a function or script.
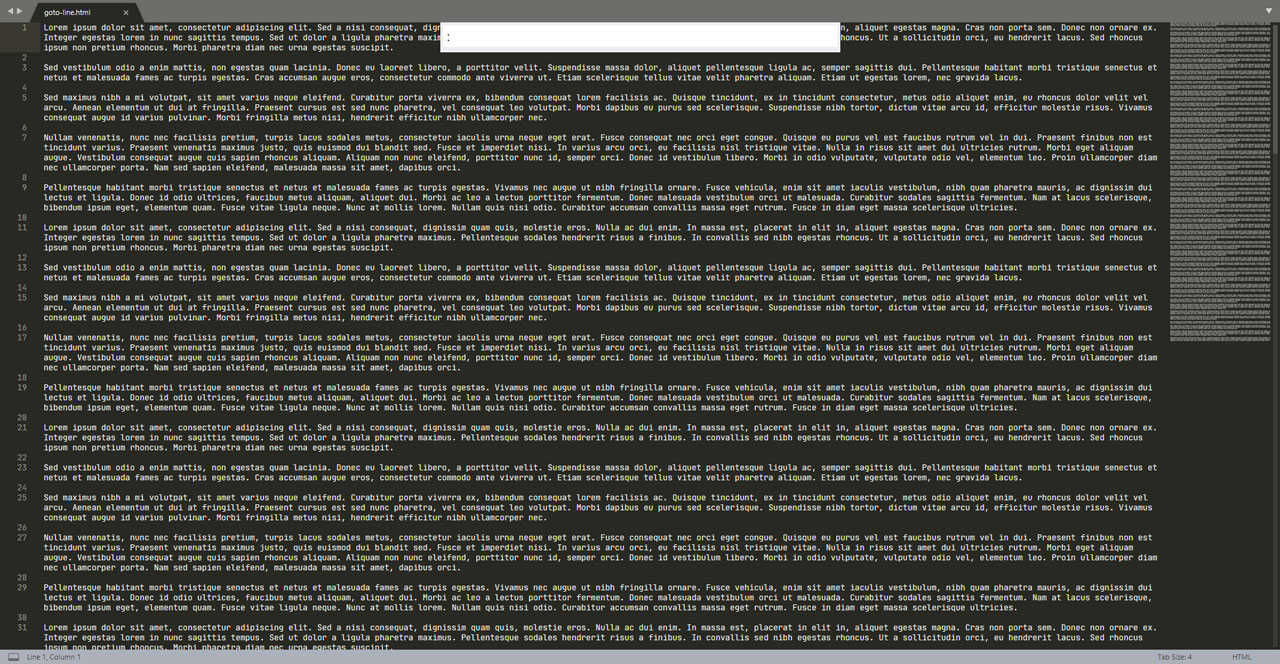
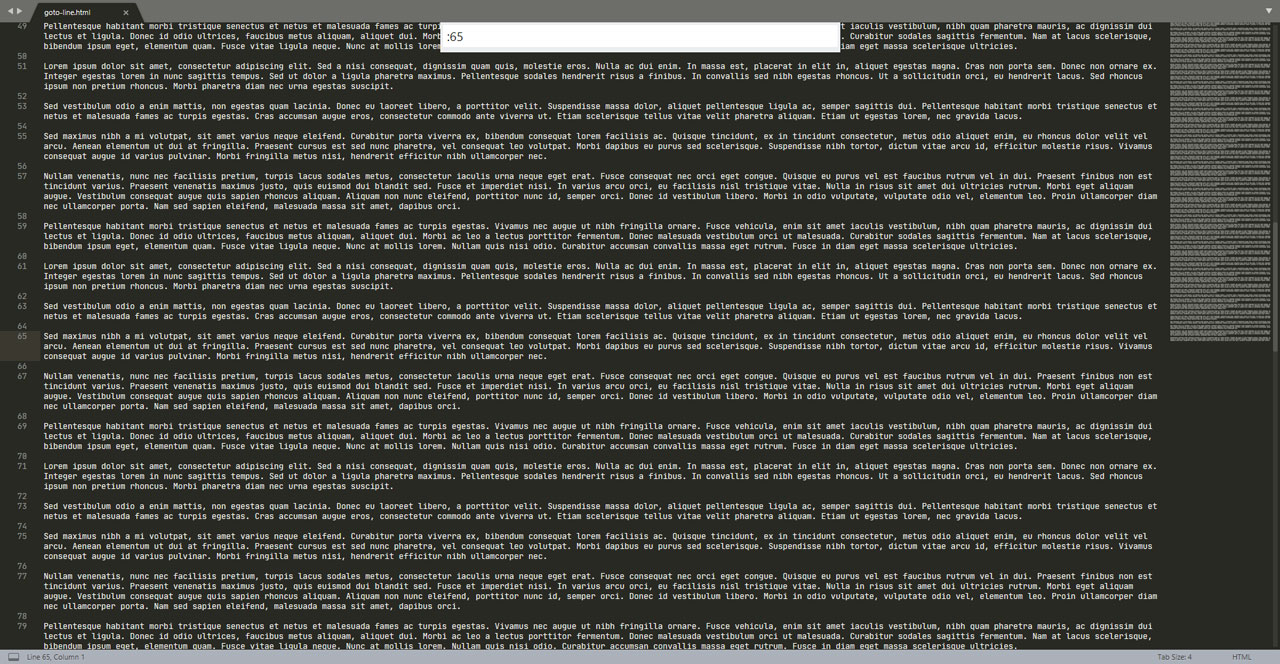
That’s where Goto Line… comes in to save the day. Look towards the left in Sublime and you will see numbers adjacent to the text. Goto Line… redirects you to the numbered line you tell Sublime to go to. Want to go to line 25? Done. What about line 322? Not a problem.
The shortcut key to trigger the Goto Line… is Ctrl (Cmd) + G. This will open up a little white input field at the top of the program. Type in the numbered line and Sublime will direct you to that line immediately.
Hit enter to commit to the numbered line transfer. If you hit escape on your keyboard, Sublime will exit out of the Goto Line… command and take you back to the former numbered line you were currently working.
Granted, this requires you to have some inkling of where you want to go first. If you are continuously editing certain aspects of a file, you are going to want to memorize a ballpark area of where you want to go.
Convert Case ( Upper and Lower )
How many times have you received a line of text and asked yourself if a certain letter was a lowercase l or an uppercase I?
You can either strain your eyes to measure the pixel thickness (or thinness) of the letter, or you can take a 50/50 shot and play Guess That Letter.
Here’s a better solution for you: Convert Case. Have Sublime automatically switch the letter case between upper and lower in an instant without having to sacrifice your retinas.
This shortcut is going to be a combination shortcut. No, this isn’t a seven-key Street Fighter combination you have to enter to get the action to work. The combination simply requires an additional key after you have typed in the first.
Highlight the text you want to convert into an uppercase format, hold down the Ctrl key (Cmd), then hit the K key followed immediately by the letter U.
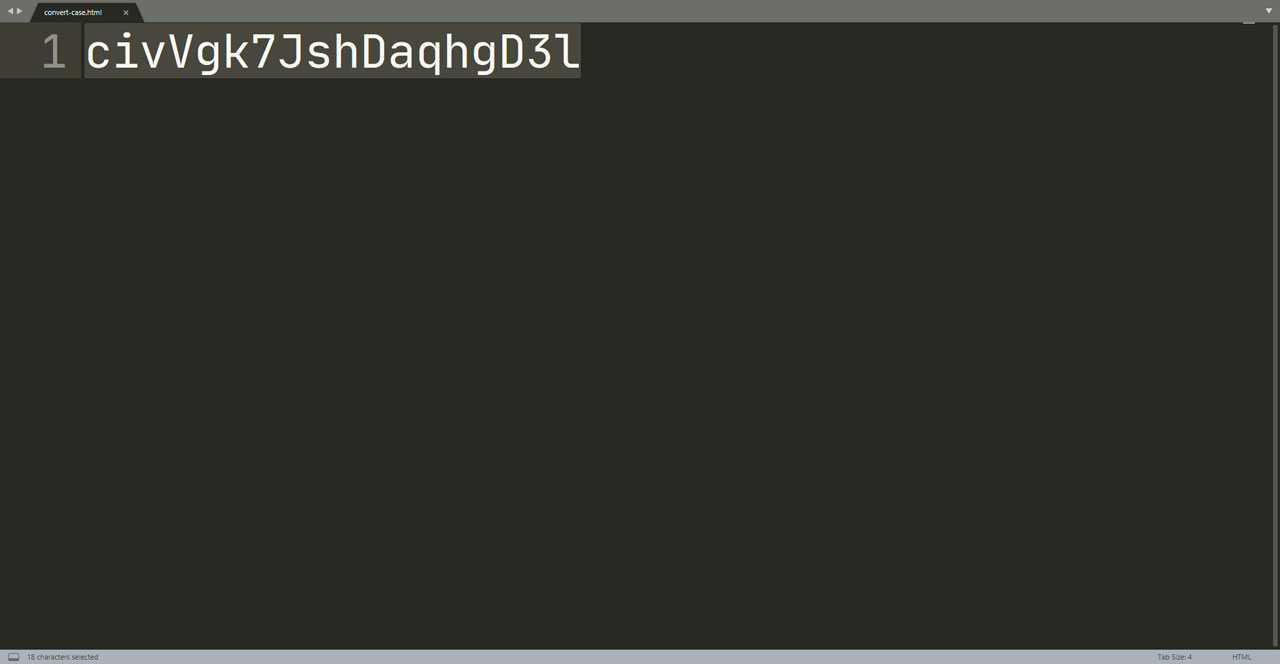

Now all the letters are in an uppercase format.
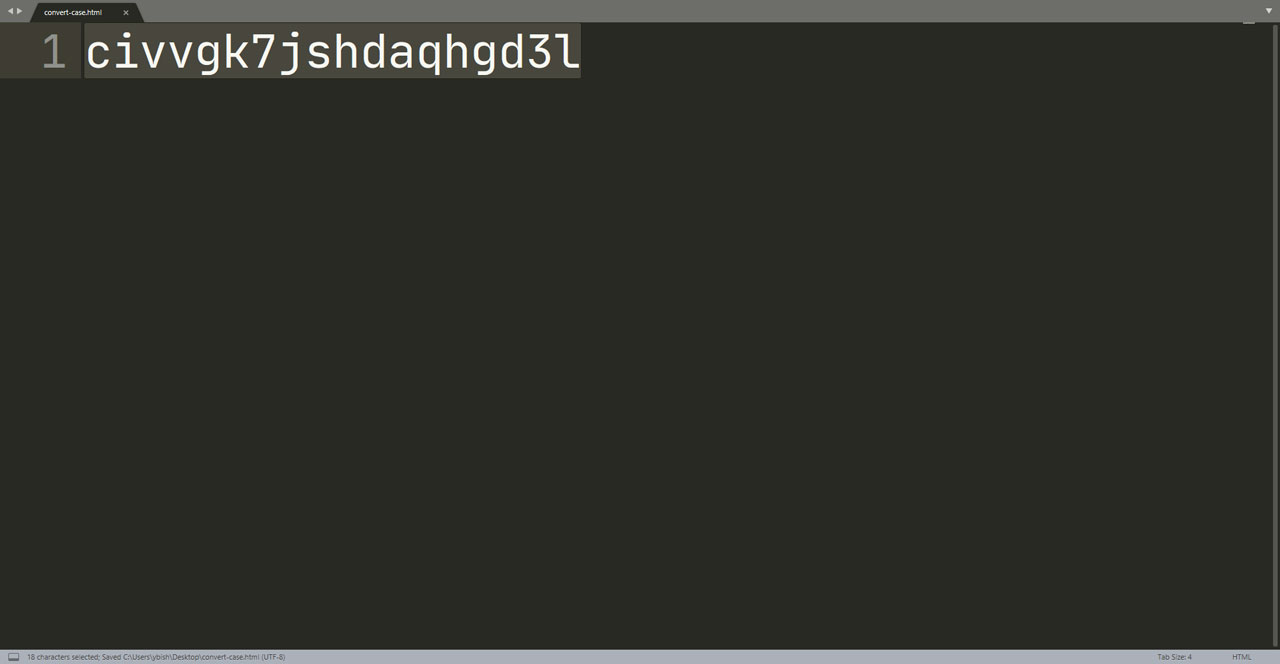
Bonus: If you want to reverse the case and switch to an all lowercase format, apply the same shortcut combination; however, use the letter L for your second key instead of the letter U.
Set Syntax
Another cool feature about Sublime is its color-coding syntax based on the file extension. The text within the file will display a specific color scheme if you are working in an HTML file, a CSS file, or even a plain text file. However, you are not limited to the file extension syntax.
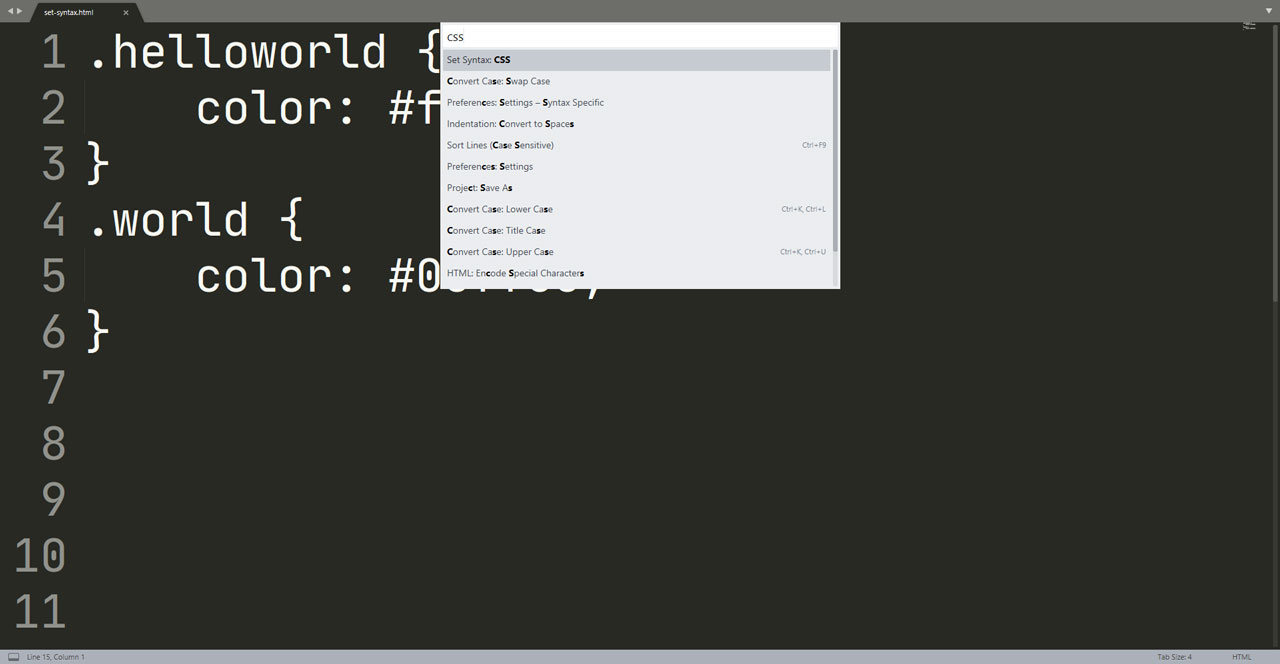
For example, to see what the CSS color scheme would look like in a text file, you can use the Set Syntax command.
Invoke this shortcut by using Ctrl + Shift + P (Cmd + Shift + P) to open up the set syntax menu. Type in your preferred language, hit enter, and watch as the file’s color scheme changes to your syntax specifications.

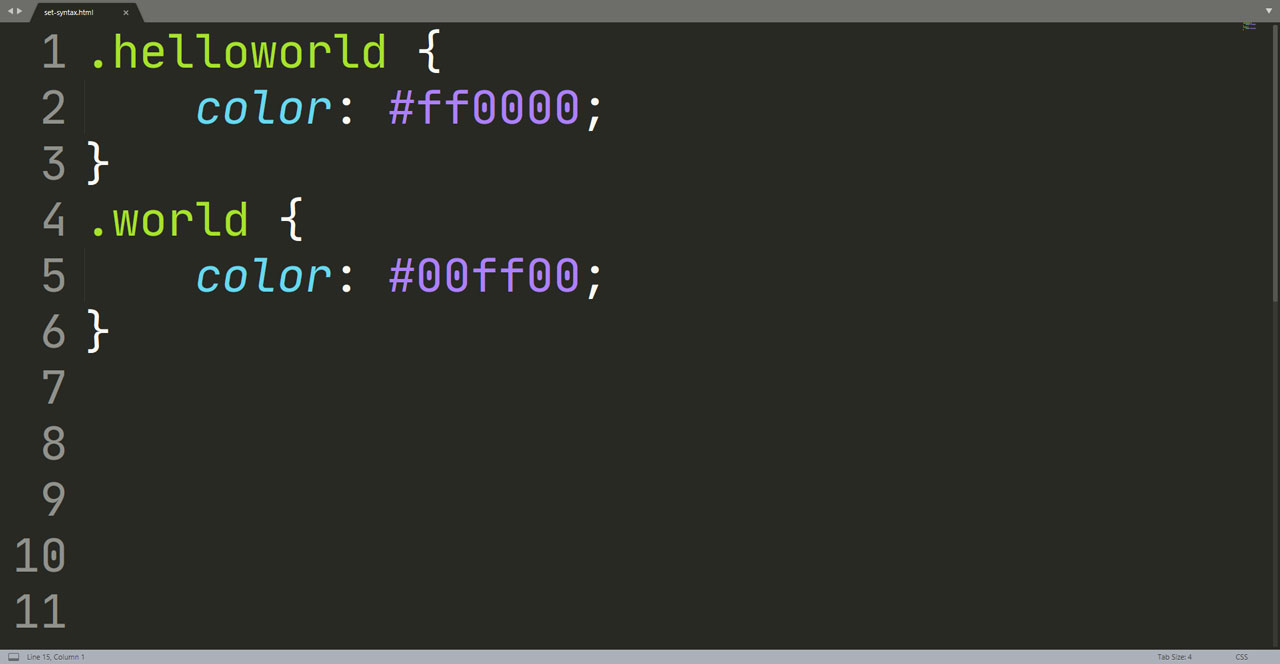
To revert the formal syntax back on the file extension basis, simply apply this shortcut once more and select the language; or, close and reopen the file.
Wrap Selection With Tag
This shortcut goes to all of my HTML peeps out there that lose track of their opening and closing tags.
Imagine a complex math problem that involves a series of parentheses (), square brackets [], and curly braces {}. Each with its own opening and closing pairings.
Much like how each one of those brackets needs an opening and closing combination, certain HTML tags (e.g., <strong>, <a>, <p>) function the same way.
Having too many nested items can lead to unnecessary confusion and turmoil if one isn’t organized from the beginning. Granted, if one has good practices instilled in them such as consistent indentation, concise comments, and clean code, it wouldn’t be an issue.
Let’s save some time and headache by learning about the Wrap Selection With Tag shortcut.
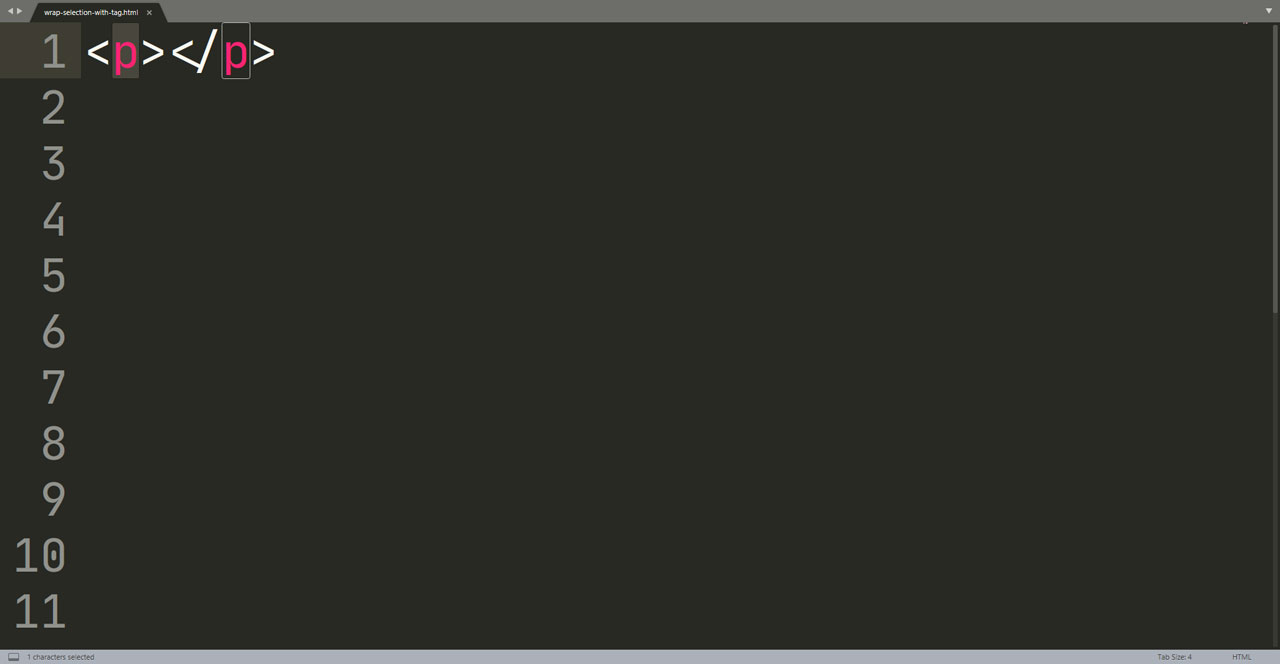
Trigger the shortcut with Alt + Shift + W (Option + Shift + W). The <p></p> tags come up by default, but can be overwritten as soon as you start typing in new tags to replace the initial <p></p> tags loaded in by Sublime.

Now let’s say that you wrote out a snippet of text first then decided to include the tags at the end of your development process. Not a problem!
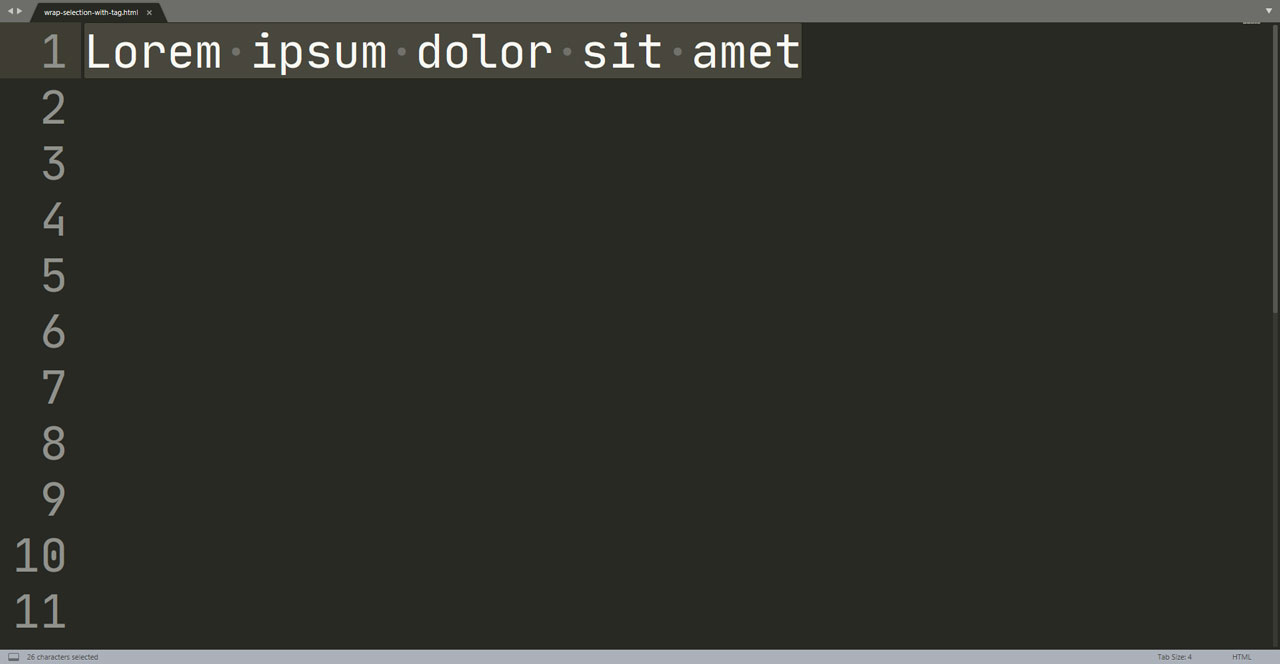
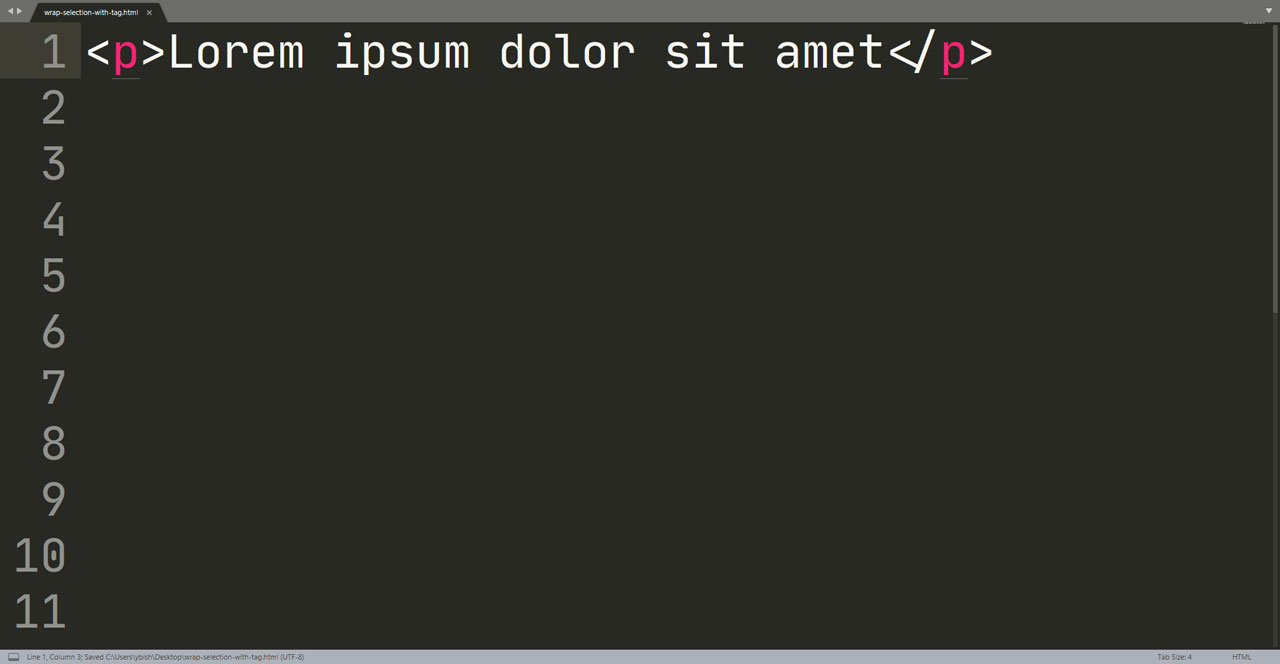
Highlight the text you want to wrap tags around, apply the Wrap Selection With Tag shortcut, and apply the tag that pertains to that snippet of text.
And That’s It, You’re Done!
Sublime has to a lot more shortcuts to offer and hopefully this tutorial was able to spark interest in learning other keyboard-shortcuts.
Do not let your knowledge be limited with Sublime. Traverse the world of software and see what shortcuts are tucked away within your favorite programs!
I hope you were able to learn something new! If you would like to know more about a certain web-development topic and want me to do a tutorial about it, shoot me a message and let’s make it happen.